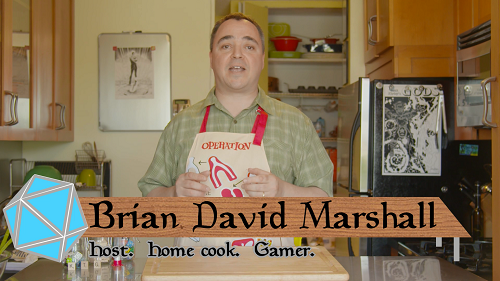
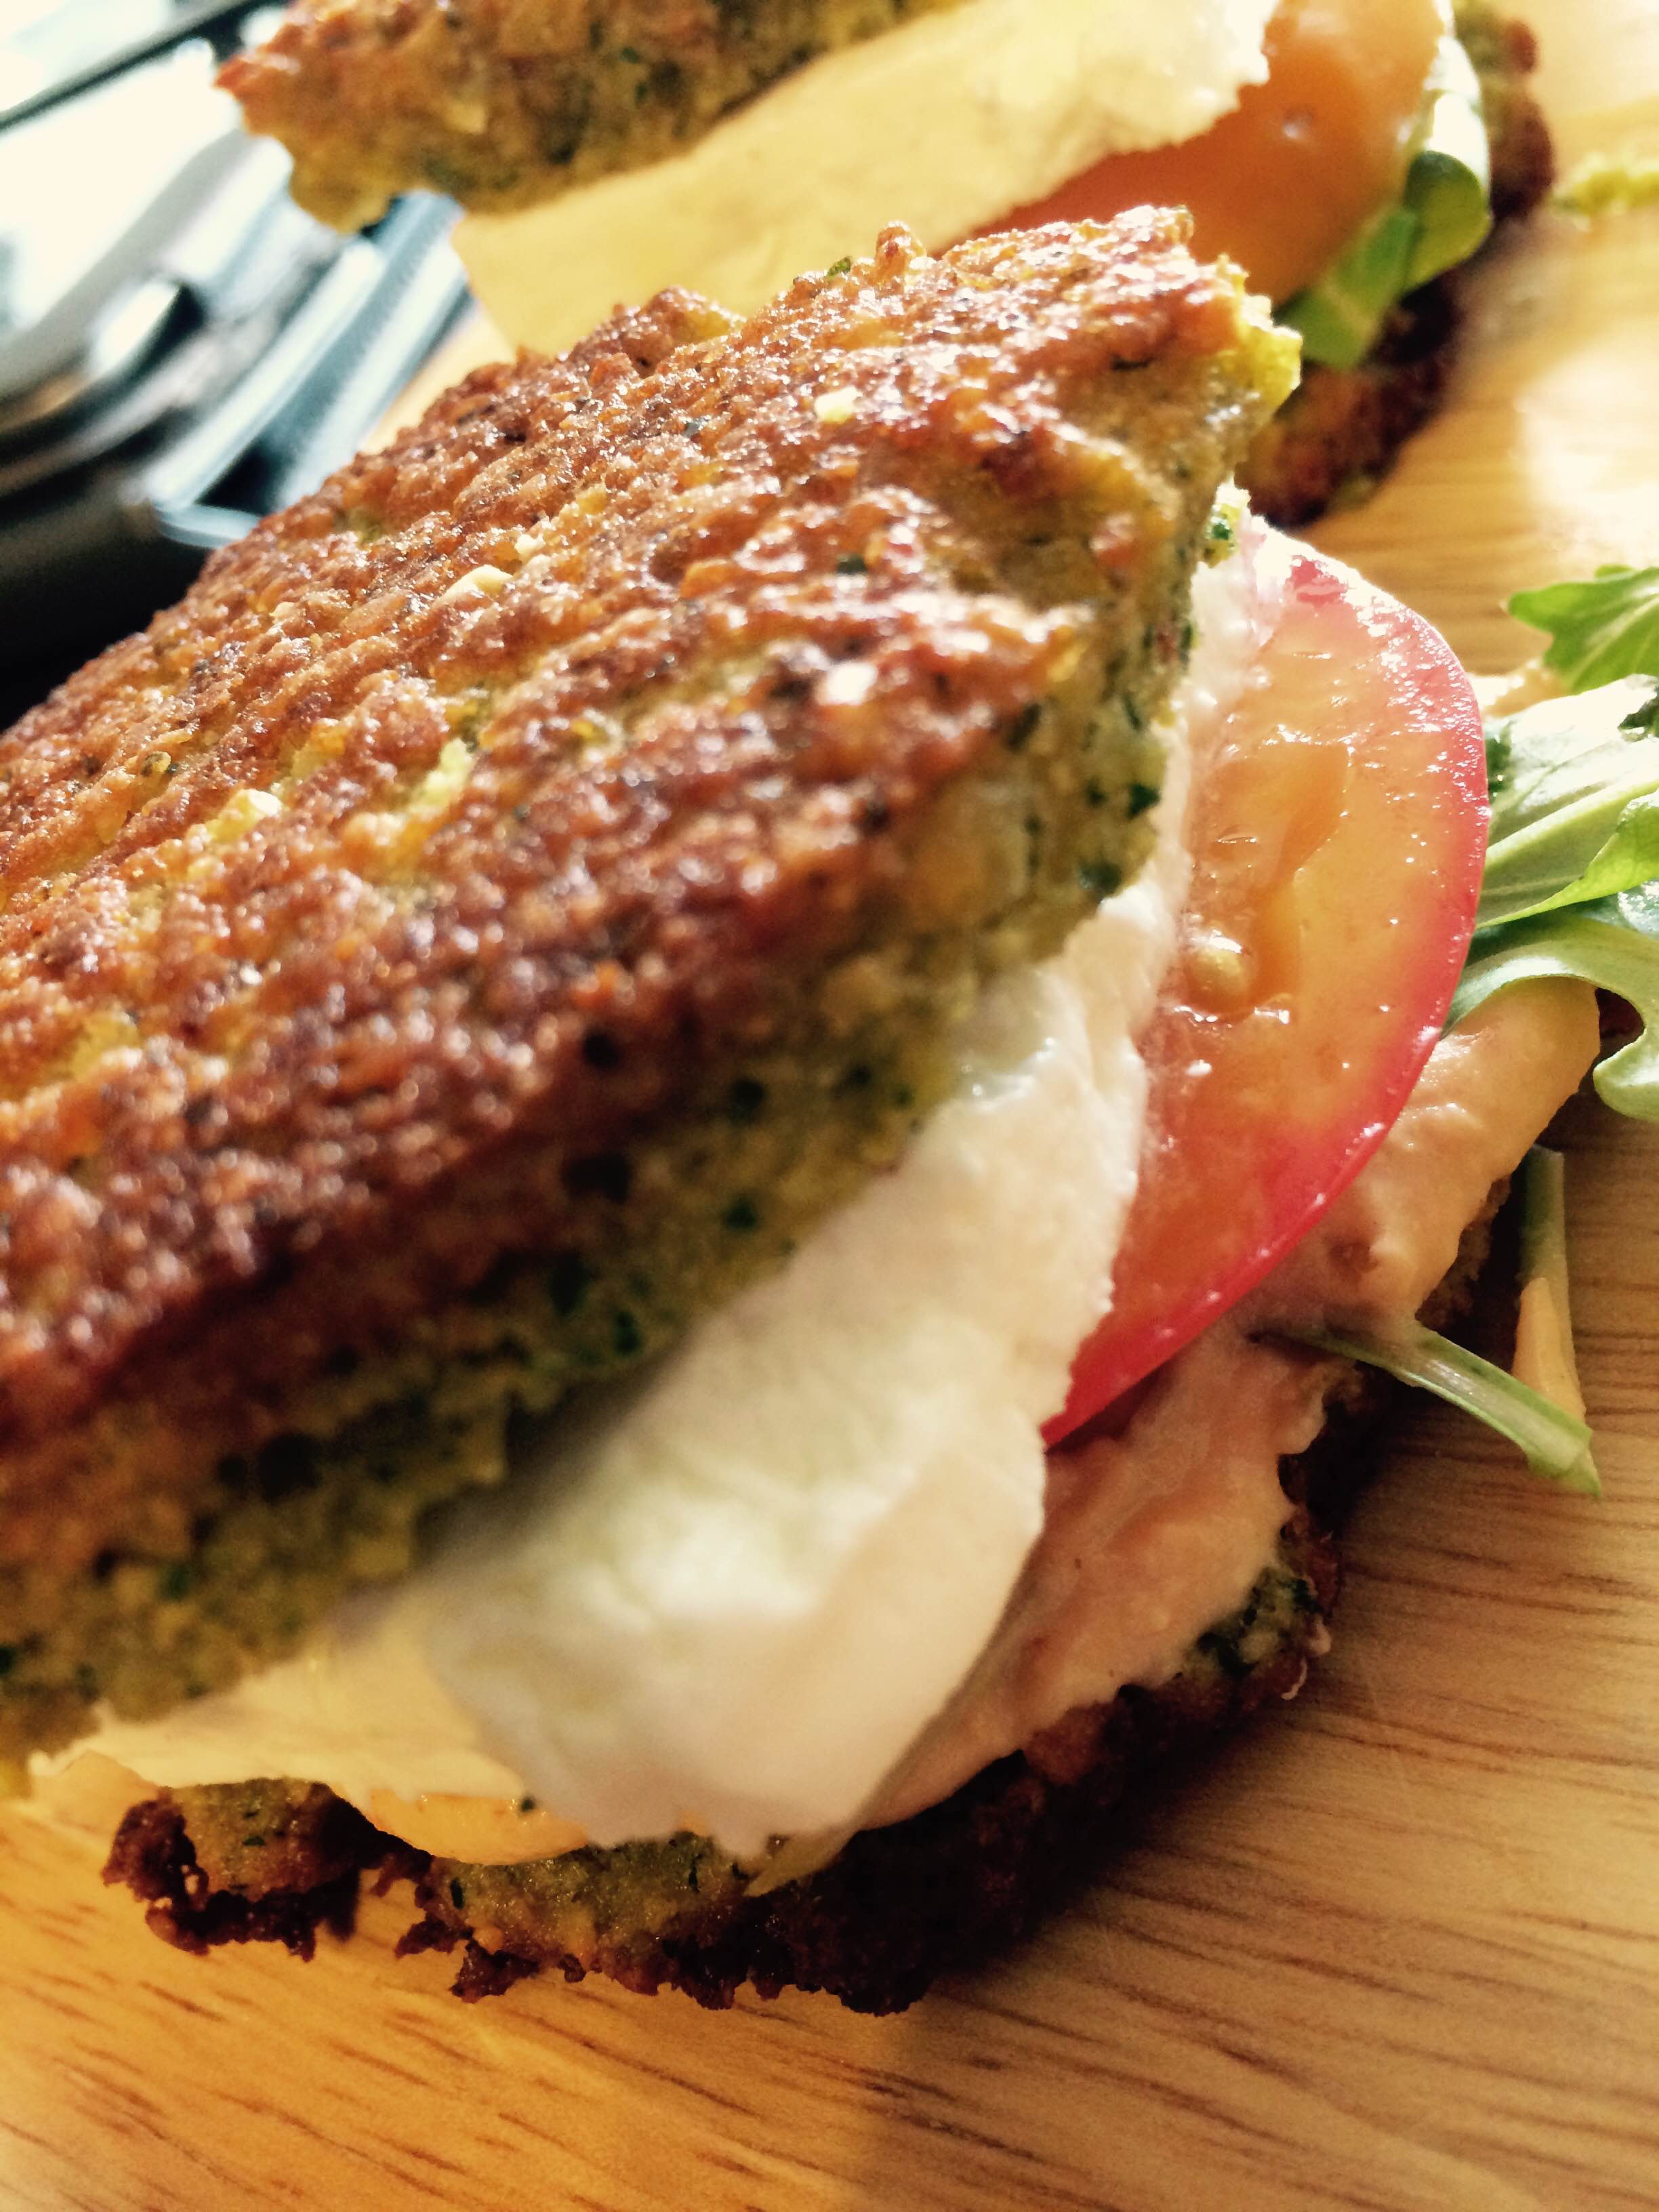
I made Falafel Sliders for the second episode of Kitchen Table Gaming. Their origin goes back to my wife and I watching an episode of Top Chef — at least I think it was Top Chef, we watch a LOT of cooking competition — with a Slider challenge. All the chefs went with fairly traditional slider construction and it seemed like everyone played it a little safe. My wife, always looking to “trick” me into making something new, asked what I would have done to take a chance and I immediately suggested the idea of using a falafel patty as the bun for a slider version of a classic falafel sandwich. I played around with the fillings a little bit and this is what I ultimately came up with. These are vegetarian but you can easily use these with a piece of chicken or a lamb patty. Basically anything you would put in a pita will work perfectly here.

Falafel Sliders
(Makes roughly 12 sliders)

Ingredients

2 cups soaked chickpeas
8 tablespoons chickpea flour
1 large sweet onion
6 cloves of peeled garlic
1 large fistful of fresh cilantro
1 large fistful of fresh parsley
2 large eggs
2 teaspoons ground cumin
2 teaspoons ground coriander
2 teaspoons kosher salt
1 teaspoon crushed red pepper flake
1 lemon zested
2 teaspoons baking powder

Oil for pan frying

Prepared hummus
1 lemon juiced
Hot sauce to taste

Heirloom tomatoes sliced into 1/4″ thick slices
Baby arugula
Feta cheese sliced into 1/4” thick squares

Time to make the sliders:

Preheat oven to 350 degrees.

I have made this before with canned chickpeas and it just did not turn out as well. If you use the canned version you probably need to add more flour. Dried chickpeas are cheap and easy to use. Just soak them overnight in cold water — cover them by about 2 inches in a bowl or saucepan — and drain them when you are ready to use.

Put all the ingredients up to baking powder into a food processor and puree until the chickpeas are all smooth. You may get a couple of chunks of onion here and there but I actually don’t mind that and could even see adding the finely chopped onion after the puree part for a textural component. If you can’t find chickpea flour you can substitute AP flour. I haven’t tried it yet but I have seen falafel recipes that call for bread crumbs. Had I thought about it before recording I would have tried making this one with pita chips pulverized in the food processor in place of some of the flour.

Coat the bottom of a saute pan with oil (I used a mix of grapeseed and olive oils but you can use vegetable or peanut oil) and heat up over medium flame. I used a 2 3/4” ring mold to make my patties but you can just use an ice cream scoop if you don’t have one. Cook the patties for 2 minutes on each side in the oil and transfer to a baking sheet. Cook the patties for another 10 minutes in the oven.

IMG_8563

Slice the patties in half like you were cutting an English Muffin and you are ready to build your sliders. I doctor up my hummus (or you can make your own, you have the chickpeas after all!) with some hot sauce and lemon juice to thin it out and use a teaspoon of that on the bottom of the sandwich. Next you add a few leaves of arugula (or any green you like) and then a slice of tomato. Top that with the feta cheese and another dollop of the hummus. Close with the other half of the pattie and you have your sliders.

In the second episode of Kitchen Table Gaming I entertained some friends with drinks and treats over a game of Commander. I led them off with an adult beverage made with tomatillos and vodka (although it is pretty refreshing without any alcohol). It was inspired by the desire to have a lighter, more refreshing brunch alternative to the traditional Bloody Mary. Even though Tomatillos are not actually tomatoes (they are a giant gooseberry, apparently) I thought the bright, fruity flavor would be perfect for the job. I had already made a cucumber cooler with mint and vodka over the summer and decided to combine elements from that and from the basic shape of a Bloody Mary into this summer brunch drink.

It occurred to me that it is hard to call a drink that is green a “Bloody” anything. There are many theories to the titular figure of the Bloody Mary including a waitress who worked at a Chicago bar called The Bucket of Blood, the actress Mary Pickford, and Queen Mary 1. I chose to go with the matriarchal origin because I liked being able to call this the Bloody T’Pau, named so after the Vulcan matriarch from the original Star Trek episode “Amok Time.”

Bloody T’pau
(Makes 6 drinks.)

Ingredients

1 lb Tomatillos husked, rinsed, and destemmed
1 large English Cucumber peeled
1 fistful of fresh Cilantro
1 Jalapeno pepper seeded and deveined
1/2 cup of water
1 lime zested and juiced
Salt
Vodka
Ice
Celery stalks for garnish

Let’s Make the Drinks

Rough chop the tomatillos and cucumber and add the them to blender or food processor. Next add cilantro, jalapeno, juice and zest of lime, and a generous pinch of salt. Puree it all together and add water as needed to loosen the mixture.

Empty the contents into fine strainer over a bowl to collect the juice. Press the pulp around with the back of a wooden spoon or spatula to force as much juice through as possible. You can reserve the juice for several hours before serving but be sure to give it a stir first.

Fill highball glasses with ice and celery stalk and pour juice about 2/3 of the way up the glass. Add vodka and swizzle it around with the celery. Bendy straws are optional. You can also rim your glass with a cayenne infused salt for a spicier take. You can also garnish with some pickled jalapenos.

S'mores to Plowshares

In the second episode of Kitchen Table Gaming, I make cocktails, sliders, cookies and ice cream… And cream my guests in a game of Magic: The Gathering!

The Commander community’s Dan Brown and GGsLive founder Rashad Miller join me to play a game of Commander. Each of us brings a very different deck to the field of battle. Mine is basically an Innistrad Block draft deck made possible by the lovely Sidisi, Brood Tyrant.

Recipes in this episode of Kitchen Table Gaming:

  • Bloody T’Pau – My take on a Bloody Mary. Because my Bloody Mary is green instead of red, we go with the Vulcan naming
  • Falafel Sliders – We do something a little different with these sliders. “Much better than the Hot Pocket I had this morning.” -Dan Brown
  • S’mores to Plowshares – A cookie-and-ice cream ode to the Magic: The Gathering staple

The full recipe for each dish will be available here on Fetchland in the next couple of days.

Here’s the second episode. Spoiler Alert’s David T. Wright filmed it. Matt Ferrando helped with it. I did all the cooking. Enjoy!

Our guests:

S'mores to Plowshares

This is a top down cookie design. I had the name in mind before I knew exactly what the cookie would turn out to be. I wanted to capture the cinnamon-grahaminess, the toasted marshmallow, and the gooey chocolate bar quality of the cookout treat. While I normally don’t use Hershey’s chocolate as my chunk of choice in my other cookies I knew they were essential for this recipe. I found that the snack sized bars broke into perfect little identifiable pieces. I managed to find a whole wheat graham flour and made my first attempt that included molasses and nutmeg in the recipe. I also mixed the marshmallows into the cookie dough.

While the first attempt was semi-successful the cookie came out too gingerbready with the spice from the molasses and the nutmeg. More critically, the marshmallows that were inside the cookie just evaporated into nothing and undermined the structural integrity of the cookies. These were not load-bearing cookies.

For this second take I just went entirely with brown sugar, instead of using a combination of molasses, white sugar, and brown sugar, and eliminated the nutmeg. I also froze my mini marshmallows and placed them on the surface of the cookie since those were the only ones that survived from the original batch. I froze them first to give them just a little more time in the oven to maintain their shape throughout the baking process.

They turned out exactly the way I wanted and i look forward to making them again on an upcoming episode of Kitchen Table Gaming.

S’mores to Plowshares Cookies
(Makes 12 large cookies)

Ingredients:

2 sticks unsweetened butter
1 1/2 cup dark brown sugar
1 large egg
1 cup all purpose flour
1 1/4 cup whole wheat graham flour
1 teaspoon Kosher salt
3/4 teaspoon baking powder
1/4 teaspoon baking soda
4 teaspoon ground cinnamon
1 teaspoon vanilla extract
12 snack size Hershey’s Special Dark chocolate bars
60 frozen mini-marshmallows

Time to make the cookies:

Preheat your oven to 350 degrees.

In a stand mixer with the paddle attachment whip together softened butter and brown sugar for 2 to 3 minutes. Add in the egg and let the mixer go for 7 or 8 minutes, scraping down the sides with a rubbed spatula as you go. Add in all the dry ingredients and vanilla and mix until combined.

Using a 1/3 cup ice cream scoop portion out 12 cookies onto cookie sheets lined with parchment or Silpat baking mat. The cookies will spread out considerably while baking so you can only fit 6 per sheet. Flatten the scoops gently with the palm of your hand so they are 1/2″ thick discs. Break each of the snack size chocolate bars into four pieces and nestle them into the top of each cookie. Press four to five of the frozen marshmallows in as well.

IMG_5176

Chill the cookies in the refrigerator for 30 minutes or freezer for 10 minutes before putting them in the oven for 18 minutes. Transfer cookies to a wire rack to cool — but not too cool as you they are best eaten with slightly gooey chocolate and marshmallows. You can reheat the cookies for 5 to 10 seconds to in a microwave oven to get that gooey S’mores sensation back.

Onion and Sausage Tart

(This dish has its roots at a long ago gaming marathon when a small group of us (including Paul Yellovich who helped me relay this story on the first episode of Kitchen Table Gaming) played the Judge Dredd board game for more than the span of 24 hours. When we were done playing we had eaten everything there was to eat in Paul’s house and had less than $13 to muster between us. (It stands to reason that if we could stay up all night playing games we did not have jobs at the time.)

That money was spent on a stack of frozen pizzas, a package of hotdogs, a bag of Sabrett’s red hotdog stand onions, and a two-liter bottle of off brand root beer. In the end we would decide that the best way to consume our bounty was by rolling up the hot dogs and onions inside the cooked pizzas and washing the mess down with the soda. When I set out to update this recipe for KTG I was stumped until I saw a package of Dufour Puff Pastry peeking out from the back of my freezer.)

I like to make my recipes from as-scratch as possible but have not been willing to take the dive into making my own Puff Pastry yet. Especially when the Dufour brand one is so perfect. Lots of the bigger name brand versions use vegetable shortening but this one is made the way Julia Child intended — with real butter. I am sure you can use whatever Puff Pastry is available to you and this will be yummy but I get the Dufour at Whole Foods and it is totally worth going out of your way for and should in no way be limited to making this.

Puff pastry is a perfect vehicle for any number of savory and/or sweet foods from making personal Beef Wellingtons to apple tarts. I have done appetizers for more than a few family gatherings with it and never repeated a recipe twice. We had great heirloom tomatoes at the market last summer and I topped my pastry with thin slices of them nestled in an arugula pesto. Another time I made a fig and olive tapenade which was layered on puff pastry with thin fig slices and dotted with goat cheese.

Here is what I did to make these tarts but you should not let my imagination limit you any way:

Root Beer Caramelized Onion and Sausage Tart

Ingredients

4 thinly sliced Vidalia Onions (or any sweet onion if Vidalias are not available)
1 lb of Italian Sausage removed from its casing
6 oz pure cane sugar Root Beer.
2 tablespoon Honeycup brand honey mustard (sorry to be so brand specific with this recipe but I am addicted to this ingredient)
1 package Dufour Classic Puff Pastry
2 cups shredded gruyere cheese
1 cup shredded pecorino romano cheese
2 teaspoon chopped thyme (fresh or dried)
2 tablespoon olive oil
1 large egg beaten with 1 tablespoon of water
Salt and pepper

Cut and pastry

Preheat oven to 400 degrees.

In a sautee pan cook the sausage over medium-high heat and break it up into smaller crumbles with a wooden spoon as you cook it. Remove pan from heat and set aside. In another, larger pan start cooking the onions in the olive oil with some salt and pepper. Whisk together the root beer and honey mustard. When the onions start to soften and turn translucent you can add them to the pan and toss the onions to coat. Continue cooking until the mixture has reduced and begun to caramelize with the onions. Add the sausage, pan drippings, and thyme and stir until they are all incorporated. Remove from heat and set aside.

Flour your work surface and lay out the chilled puff pastry. With a floured rolling pin you can quickly smooth out any of the folds and then cut into six even pieces with a sharp paring knife. Place your pastry pieces on a silpat or parchment lined baking sheet and dock the center area with a fork. This will ensure that the sides will puff up but the center will provide a nice flat basin for your topping. You can also take trimmings of the puff pastry and “build” four walls, using a little egg wash as glue, along the perimeter of the pastry for an even more dramatic boxy presentation.

Spoon the sausage and onion mixture into the center of the pastry and top with the two cheeses. Brush the edges of the pastry with the egg wash and put the tray in the refrigerator to chill again for about 30 minutes. It is essential for puff pastry to be cold when it goes into the oven so that the many layers of butter are not melting together. I have gone ahead and not rechilled my puff pastry with mixed results in the past.

Bake the chilled tarts in the oven for 22 to 25 minutes or until the pastry is golden brown and firm to the touch. A little fresh grated cheese never hurt anyone when serving.

Serves 6 to 12 depending on whether or not you slice these in two. Sometimes it serves 3.

Sushi Grade Nachos

(“Sushi Grade Nachos” is another one of three recipes from the first episode of Kitchen Table Gaming, published earlier this week, here on Fetchland.)

I am pretty lucky to have an insane Japanese supermarket near my house that not only carries Japanese produce but also has a pretty ridiculous selection of cheap, fresh seafood that they will slice up for you into perfect pieces of sashimi. I have gotten a whole tray of otoro (fatty) tuna there for less than one piece of otoro sashimi at high end restaurants in New York.

I have no idea what led to the creation of these individually plated nachos but it certainly started with me finding a piece of whole wasabi root in the produce section. Somehow I decided that this should be paired with otoro and blue corn and sesame tortilla chips.

Sushi Grade Nachos

Ingredients

2 ripe avocados
1 bunch scallions, chopped
4 tablespoons freshly grated wasabi root (you can use prepared wasabi paste to taste if fresh is not available)
1 lime, zested and juiced
10 shiso leaves, minced (can use handful of cilantro if shiso is not available)

20 pieces of sashimi (tuna, salmon… whatever is fresh and good)

20 blue corn tortilla chips

Time to make the nachos

Scoop the avocado into a large bowl and mash with the back of a fork. Add in the zest and juice of the limes, wasabi root, and the minced herbs and continue mashing until almost all the chunks of avocado are gone.

Scoop one tablespoon of wasabi guacamole onto each chip and top with a piece of sashimi.

That’s it.

Dark Chocolate Rituals

(“Dark Chocolate Rituals” — a kind of chocolate cookie — is one of three recipes from the first episode of Kitchen Table Gaming, published earlier this week, here on Fetchland.)

I have spent the last few years on a quest to create the most chocolate-y cookie possible. My first efforts with cocoa powder in the batter were fine but they were just not going as far as I needed them to be. I found a way to make them using melted dark chocolate in the batter in addition to a dark chocolate cocoa powder and it was almost there. The missing element was finely ground espresso beans and suddenly the cookie sprang to life.

Dark Chocolate Rituals

Ingredients

1 Cup All Purpose Flour
1/2 Cup Unsweetened Cocoa Powder (I prefer Hershey’s Special Dark)
1/2 teaspoon baking soda
2/3 teaspoon Kosher salt
5 oz dark chocolate for melting
5 oz dark chocolate chunks for… chunks
1 stick unsalted butter (grass-fed butter really makes a difference)
1 1/2 cup granulated sugar
2 large eggs
2 tablespoons finely ground espresso beans
1/2 cup whole espresso beans
1 teaspoon pure vanilla extract

Time to make the cookies

Preheat oven to 325 degrees.

Melt 5 oz. of chocolate with one stick of butter in a double boiler or small metal bowl set over a pan of simmering water. Add espresso powder to as the mixture melts and becomes smooth. Meanwhile add flour, cocoa powder, baking soda, and salt into a bowl. Whisk together and set aside.

Add the chocolate mixture to a stand-up mixer with paddle attachment and add sugar, eggs, and vanilla and mix to combine. With speed turned down to low add the flour mixture in stages until it is all incorporated. Fold in the remaining chunks of chocolate.

Scoop the batter onto parchment or Silpat lined baking sheets with an ice cream scoop. Leave about 2 inches between each cookie. Press 3 or 4 whole coffee beans into the top of each cookie. Bake for 15 minutes and transfer cookies to wire rack to cool.

Makes 2 to 3 dozen cookies depending on how much raw batter you eat.

Kitchen Table Gaming

Welcome to the first episode of Kitchen Table Gaming, the web series where I play games with my friends and cook them food. In this first episode I was joined by one of my oldest friends Paul Yellovich, with whom I have probably played more games for more hours than I can possibly account for; Nate Holt of Walking the Planes fame, and Anthony Conta, who I collaborated with on Emergents: Genesis The Deckbuilding Game.

Nate brought some fancy chips with him which I fancied up a little more with some sushi grade tuna; Paul brought some raw cookie dough which was used in a dark chocolate ritual; while Anthony brought his game Funemployed to show us how it plays. Anthony’s game also prompted some reminiscence about marathon gaming sessions that were unhindered by anything as pedestrian as having a job.

You may have seen the Food Network show THE BEST THING I EVER ATE but Paul and I recalled the worst thing we ever ate after more than 24 hours of gaming and some pretty meager pooled resources with which to buy fixings for a meal. I manage to recreate that horrific food item as best I could but also create a much more tasteful and tasty update for this episode.

Special thanks to Dustin Drury and David T. Wright for making this first episode happen.

Hopefully there will be many more!

Me and my guests on Twitter: